Unity3D - A Checkpoint
A little over a month ago, I had begun learning the Unity Game Engine. Five weeks in, I wanted to share some of the lessons I’ve learned in this short time and demonstrate that you can achieve some pretty awesome things in Unity in an extremely short amount of time. Additionally, I’ve also had to dive into some extremely amateur 3D modeling (which I’m less proud of).
First Stab at an FPS
This is the genre I usually default to. I generally play anything, but FPS seems to be my “default”. I figured I should start with something I was comfortable with, something I knew the mechanics of so I knew if something was “off”.
I felt like a shooter would hit on a lot of topics. 3D world, flexible game mechanics, networking and would give me a good excuse to fudge some things into the game that might not make sense elsewhere. I learned some 3D modeling, what lightmapping was, basic networking and created…

…an ugly monstrosity. But it was good enough for a start! Let’s break down what’s behind this mess
Photon Unity Networking
Despite the complete lack of player models and opting for simple cylinders, this game does have multiplayer. It was actually pretty easy to accomplish using a very popular third-party add-on called Photon Unity Networking. It’s completely free for up to 20 concurrent players and makes what would otherwise be a very complex solution very, very easy. I’ve chopped out some code I had to handle things specific to my game, but as you can see, to just join a lobby and a room, it’s not a lot of code:
public class NetworkController : MonoBehaviour
{
    public GameObject mainCamera;
    private int MAX_PLAYERS = 16;

    void Start()
    {
        Connect();
    }

    void OnJoinedLobby()
    {
        JoinOrCreateRoom();
    }

    private void JoinOrCreateRoom()
    {
        // Setup room options and join the room (or create it if it does not exist)
        RoomOptions roomOpts = new RoomOptions();
        roomOpts.isOpen = true;
        roomOpts.isVisible = true;
        roomOpts.maxPlayers = MAX_PLAYERS;

        PhotonNetwork.JoinOrCreateRoom(GameController.defaultNetworkRoom, roomOpts, TypedLobby.Default);
    }

    void OnJoinedRoom()
    {
        SpawnPlayer();
    }

    public void Connect()
    {
        PhotonNetwork.ConnectUsingSettings(GameController.gameVersion);
    }

    private void SpawnPlayer()
    {
        // Instantiate a new player on the network
        GameObject fpPlayer = (GameObject)PhotonNetwork.Instantiate("PlayerController", new Vector3(0f, 2f, 0f), Quaternion.identity, 0);
        PhotonView photonView = (PhotonView)fpPlayer.GetComponent<PhotonView>();

        // If this is the player's spawn, enable all of the control scripts, disable the lobby cam and lock the cursor
        if (photonView.isMine)
        {
            mainCamera.SetActive(false);
            fpPlayer.transform.FindChild("Main Camera").gameObject.SetActive(true);
        }
    }
}
And just like that, the player is in a networked game. Granted this means there’s only ever one room for all players to join, assumes there’s ground under the player at coordinates 0,2,0 and I’ve removed the code to enable player movement scripts for only the local player, but it works nonetheless. From there, you can create a generic script that you can put on ALL components that should be updated over the network, and PUN will handle updating their location, rotation, and whatever else you include to send and receive in the script. Below is the code I wrote to not only update the local and remote player locations, but also do extremely basic smoothing over the movement to reduce jitteriness of the remote players on the local player’s screen.
using UnityEngine;
using System.Collections;

public class NetworkedComponent : Photon.MonoBehaviour {

    private Vector3 realPosition = Vector3.zero;
    private Quaternion realRotation = Quaternion.identity;

    private float lastUpdate;
    private float lerpRate;

    void Start()
    {
        lastUpdate = Time.time;
    }

    void Update()
    {
        // Lerp remote players to their real position and rotation
        if (!photonView.isMine)
        {
            transform.position = Vector3.Lerp(transform.position, realPosition, lerpRate);
            transform.rotation = Quaternion.Lerp(transform.rotation, realRotation, lerpRate);
        }
    }

    void OnPhotonSerializeView(PhotonStream stream, PhotonMessageInfo info)
    {
        if (stream.isWriting)
        {
            // Local player, send our real position and rotation
            stream.SendNext(transform.position);
            stream.SendNext(transform.rotation);
        }
        else
        {
            // Remote player, receive and record their real position and rotation
            // This will be updated in the game world in the update function
            realPosition = (Vector3)stream.ReceiveNext();
            realRotation = (Quaternion)stream.ReceiveNext();
        }

        // Experimental dynamic lerp rate, however there is an issue
        // Lerp rate is based on Phonton update n-1, so may not be valid for this update
        lerpRate = Time.time - lastUpdate;
        lastUpdate = Time.time;
    }
}
You’ll see I was experimenting with some of the logic behind how it smooths the movement, which at this point is still questionable at best. The nice thing about Unity is I can place this script on ANY GameObject (players, random crates in the level, vehicles) and I don’t have to do anything else to have them update their position or rotation over the network.

3D Modeling
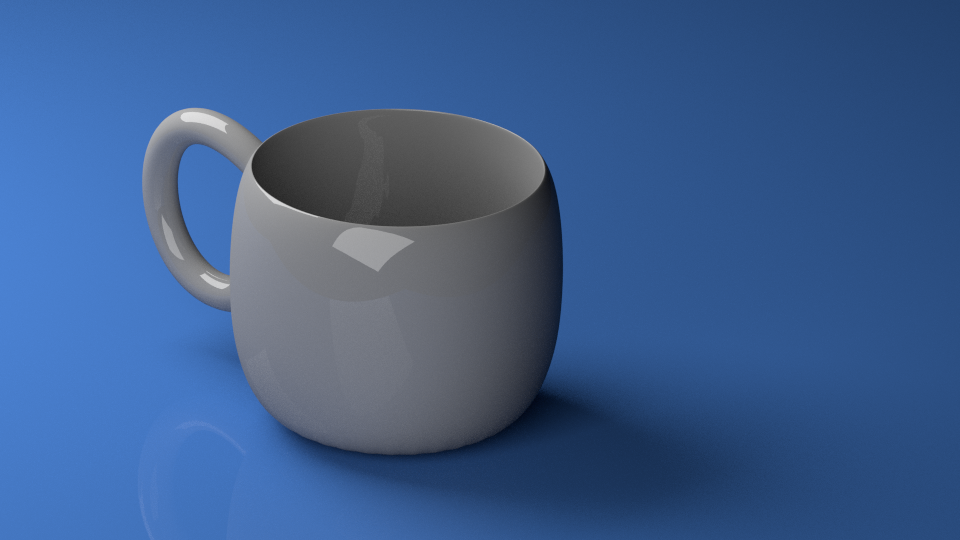
Several times in the past I’ve attempted 3D modeling and it’s never gone well. But, for game design, I had to have some basic level of understanding to at least prototype my ideas. I followed a few tutorials, one to make a coffee cup, which turned out great, and then I attempted to recreate a pint glass I just happened to have on my desk for…reasons. The pint glass left something to be desired, but for my first blind attempt, I’m still proud.


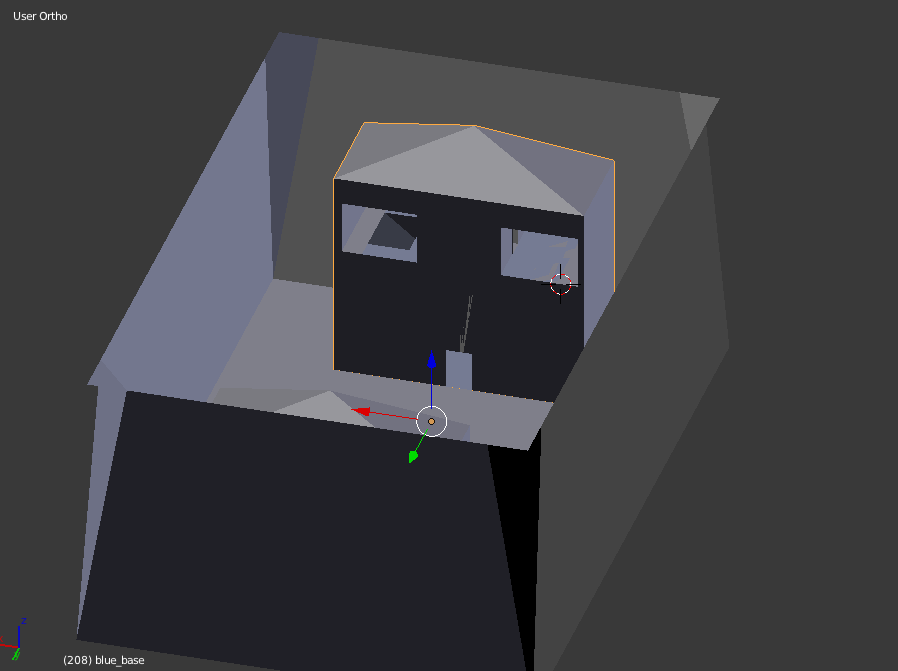
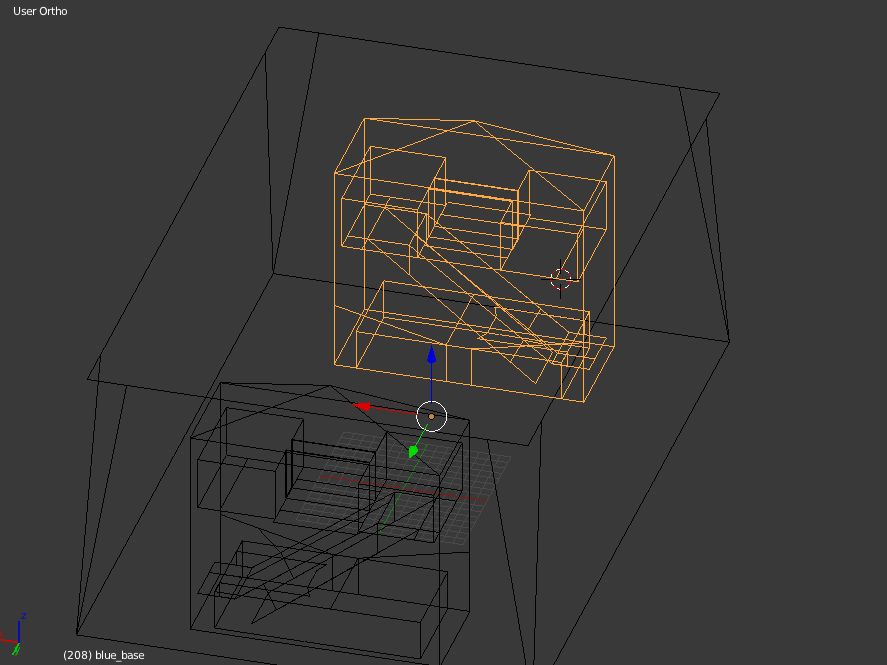
These were just learning experiences to see what I could apply to my games, and took a extremely rough stab at modeling a level for the FPS I was working on.


Does it look good? Absolutely not, but again, this is a learning experience.
Want to play it? I’ve been pushing up regular development builds here.
Future Ideas
One thing that struck me was how unbelievably easy it is to integrate the Oculus Rift, the championing technology in virtual reality and the first real device that makes it feel like VR has a potential future. I debated purchasing a Development Kit 2 (DK2), however with the next Oculus prototype, Crescent Bay, coming out within the next year, I’ve decided to wait.
How does the integration work? Well, Unity ships with two pre-made “Character Controllers”, objects you literally drag and drop into the game and get basic character movement and control. I say basic, but there’s parameters for all types of things you can tweak, such has how steep a slope needs to be before the player can’t scale it, how tall steps need to be before the character has to jump rather than walk up them, etc. The two pre-made ones are for first person control (which I’m using in my FPS Demo), and for third-person control. The Oculus team ships a third Character Controller which you can drag and drop into your game, an OVRCharacterController. Just as you do with the FirstPersonCharacterController, you drop this in your game, and instantly you get control of your character using the Oculus Rift.
I’m simplifying it a bit, as some things don’t work out of the box. For example, your UI may need some tweaking, depending on how you structure it. But to get the Oculus working in your existing game with little to no work, to me, is absolutely amazing.